
Creators and DIY enthusiasts! Today, we walk through a fantastic technique to transform a regular cup into a sparkling masterpiece with a unique two-tone effect using both chunky and fine glitter.
Our trusty sidekick in this process will be the tumbler-focused Lightning Cure epoxy from The Epoxy Resin Store. So roll up your sleeves, and let's jump into this glittering video tutorial! https://youtu.be/qZIYMRVwnRc
What You’ll Need
Before we unleash our creative powers, let's get our tools ready. You'll need:
-
A torch (a small one will do, but feel free to use a big one)
-
Protective paper (like parchment) underneath your workspace or upgrade to our silcone mat
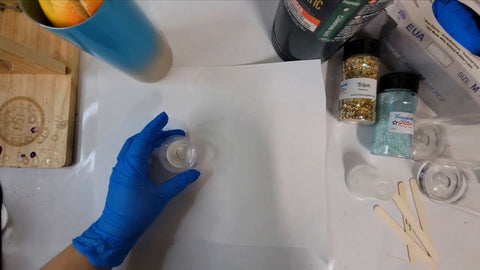
Laying the Foundation: Mixing the Epoxy
We start by mixing our epoxy, which will act as the adhesive for our glitter. Begin with Part B of the epoxy, aiming for 7.5ml, followed by an equal part of Part A, to make a total of 15ml. Stirring the mix slowly for around 60 to 90 seconds is key—make sure you're thorough, scraping the edges and bottom of your cup to ensure a smooth, even integration. Lightning Cure epoxy gives us about a 15-minute working window and hardens in a flash—within two hours. And yes, it's as amazing as it sounds.
// Epoxy Mix1. 7.5ml Part B. 7.5ml Part A. Stir slowly for 60-90 secondsApplying the Glitter Magic
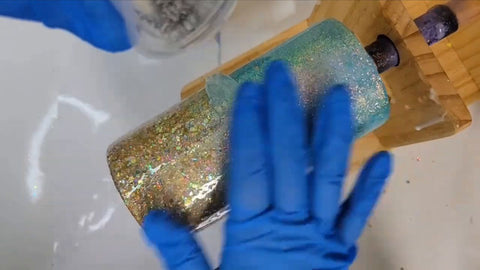
Once the epoxy's mixed, coat the entire tumbler ensuring an even, not-too-thick layer. Excess epoxy can make the glitter clump, and we're aiming for a beautifully smooth finish, so scrape any surplus back into your cup.
Blockquote:
When adding glitter to your tumbler, aim for a touch of elegance by letting it lay over the epoxy. Too much, and it sinks in; too little, and it won't adhere well.
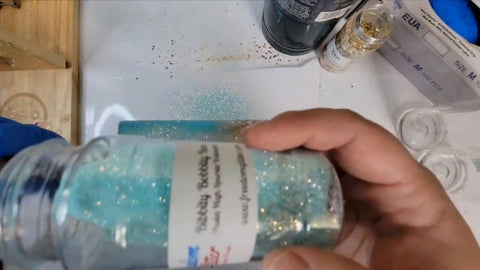
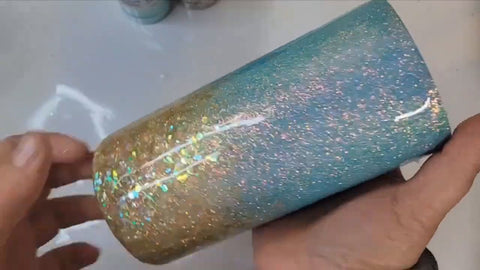
A Two-Tone Ombre Glitter Effect
Next, we make our cup shimmer with personality. Use the chunky glitter (like the stunning 'Triton' shade) on one side at an angle for a mesmerizing cascade down the tumbler. Then, let the fine glitter (the enchanting 'Bibbidi Bobbidi Boo') trickle into the chunky glitter's spaces, blending seamlessly for an ombre effect. The excess? Just funnel it back into the container.
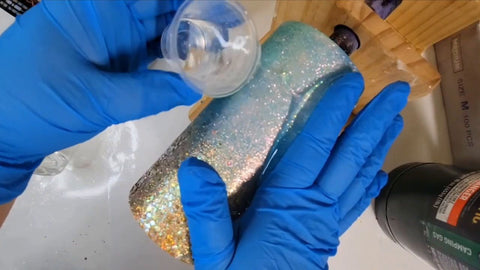
Here's a nifty tip: lightly roll or gently tap the tumbler on the paper to press down the glitter, ensuring it lays flat for the next layer of epoxy.
Sealing the Sparkle: Adding Epoxy Over Glitter
After your tumbler boasts its new glitter coat, it's time to seal the deal. Mix another 15ml batch of epoxy (remembering our mixing lessons!) and apply it over the glitter. Pour and smooth it over the tumbler, starting with one color before moving on to the next to prevent unwanted blending. For an effective method, spread epoxy over the bottom with your fingers in a circular motion.
Just a Disclaimer: Always review your tumbler for an even application—bumps can be a nuisance later on.
The Final Cure: Applying the Last Epoxy Coat
With the glitter sealed under its first epoxy coat, it’s time for the final touch. Mix and apply another 15ml batch of epoxy to the entire tumbler for a high-gloss finish that accentuates your dazzling design. Turn your tumbler spinner on, stand back, and admire the resin work its curing magic.
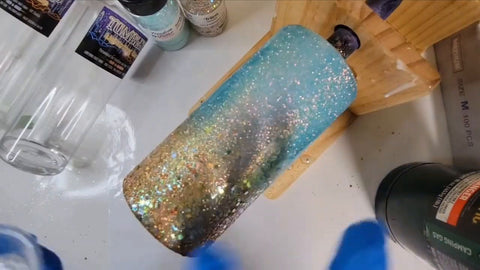
Finished Product: A Glittery Masterpiece
Patience is a virtue, and waiting for your tumbler to dry rewards you with a stunning two-tone glitter tumbler. A crafted piece that's not only eye-catching but boasts a professional finish that you've created!
Wrapping It Up
There you go! You've just upped your DIY game with a sparkling two-tone tumbler, perfect for gifts, sales, or personal bragging rights. If you enjoyed this tutorial, smash that like button, subscribe to The Epoxy Resin Store's YouTube channel, and follow all their socials.
Stay creative, and bye for now!
To support Cyn and her channel, you can follow her here
Creating art with French bullion wire can be transformative for your crafting projects.
Happy crafting!
Stay tuned for more epoxy resin guides and be sure to check out our other blog posts for more tips and tricks.


2 comments
Epoxy Resin Tutorial
Epoxy resin tutorial