
If you want your floor coating to be stronger, don't skip PRIMING the Floor day. It's kind of like leg day at the gym, but more important. 😎
This step-by-step tutorial on how to create an amazing epoxy floor will help remove worry if you've never done this before; we're going to cover everything you need to know, one step at a time.
Follow our beginners guide to polyaspartic flooring in this video https://youtu.be/bXnpP5e1aOg
Let's talk about safety.
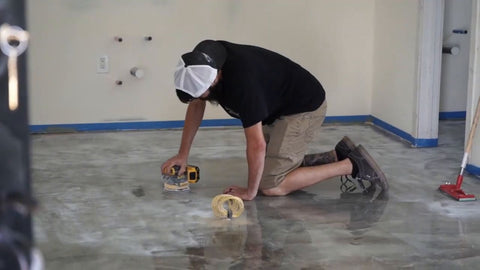
Whenever you are working on projects like this, it’s essential to deck yourself out in the proper protective gear.
That means, have good air ventilaition, knee pads to save your knees, earplugs to dampen those loud noises, and a mask to keep your lungs clear.
Safety first, always.
👉 Grab our Flooring Kit Systems Here:https://www.theepoxyresinstore.com/collections/flooring-systems
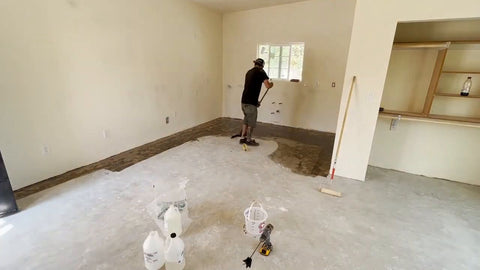
Let's Start Grinding to Perfection
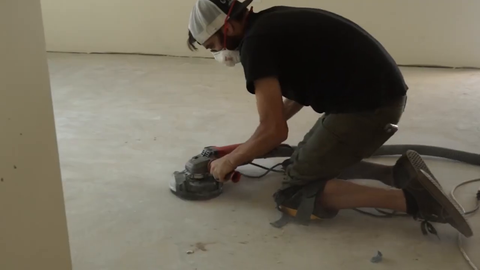
First things first, let's prep our work area. Since we're dealing with a moderate space, we'll be using an angle grinder fitted with a diamond cut blade. It's the perfect tool to rough up the surface of the concrete.
We're also going to be smart about the mess - hooking up a dust shroud and vacuum to the grinder prevents the rest of the place from turning into a winter wonderland of concrete dust. Believe me, dust will be in places you wish you covered.
Our main goal here is to remove the smooth top layer of the concrete. It's similar to scoring a surface before applying a sticker—you want to give your epoxy every chance to grip the surface firmly.
Make sure you cover every inch of the floor for the best results.
Deep Clean
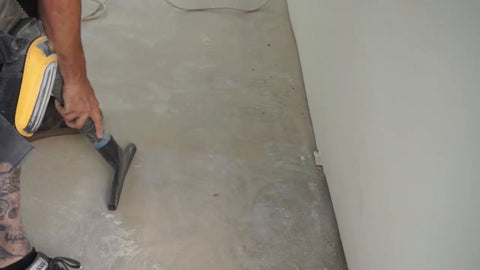
After grinding, the next step is to vacuum up all the gritty remnants of your hard work. But don't stop there; give your floor a thorough cleaning to ensure it's as dust-free as possible.
A clean floor means less trouble with dirt particles trying to photo-bomb your resin's finish.
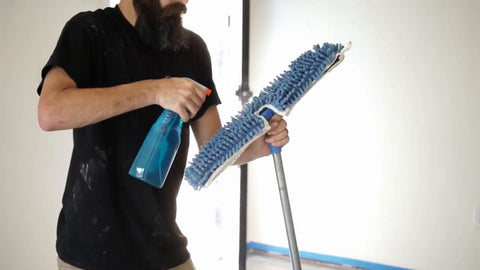
Priming for Success
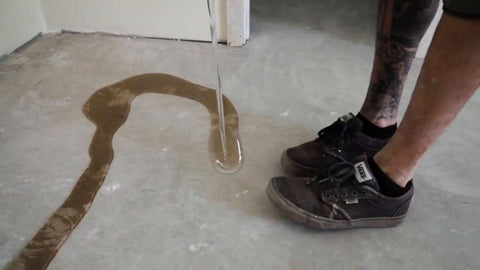
Now, with the stage all set and the floor spick and span, it's time to mix our primer.
I'm a fan of the epoxy primer from The Epoxy Resin Store—it’s like the perfect undercoat for your floor, ensuring it’s thoroughly sealed and blockades any unwanted moisture or vapor leaks.
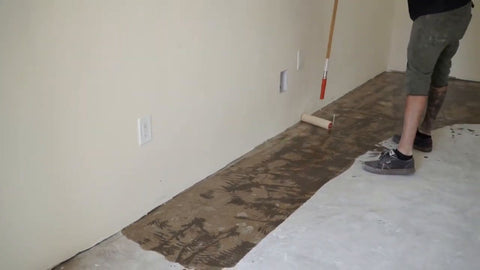
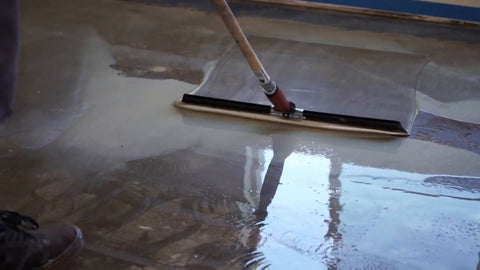
When you pour, don't just slop it around. Take a squeegee to spread it evenly, pushing it into every nook and cranny. I can’t stress enough how thorough you need to be. Then, zoom in with a roller and tend to the edges like they're the crown jewels.
"Give your primer a full day to cure. It needs time alone to solidify the great relationship it’s starting with your concrete floor."
Tape Time
Before you go any further, let's tape the base of the walls. It's an essential step to ensure that our next layers don't go overboard and stick to where they're not supposed to. It's all about the details, folks.
Polyaspartic Perfection
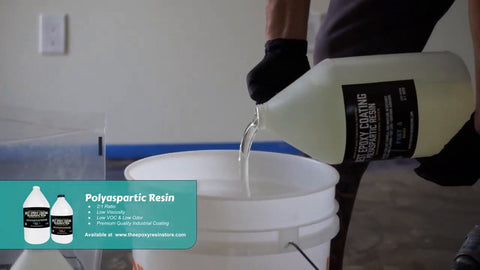
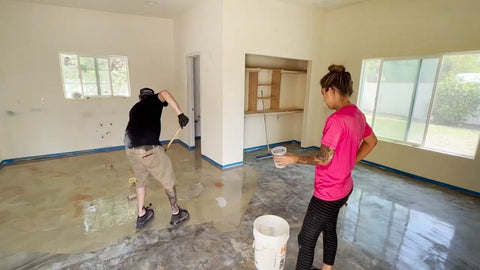
Now we’re getting to the exciting part—mixing up the polyaspartic resin! The beauty of this stuff is that it gives us a nice, long work time and the end result is as hard as rock.
Once mixed, apply it just like you did the primer—squeegee and roller in hand, go to town on the surface.
After you smooth that first layer of polyaspartic goodness, let it cure for 24 hours. Patience is a virtue, my friends.
Sand and Scuff
With the first layer set, it’s time to sand and scuff it up a bit. It may seem like you’re undoing your hard work, but this step ensures the next layer holds on even stronger.
After a quick dance with the sander, whip out some Windex and a duster to spruce it all up before the final act.
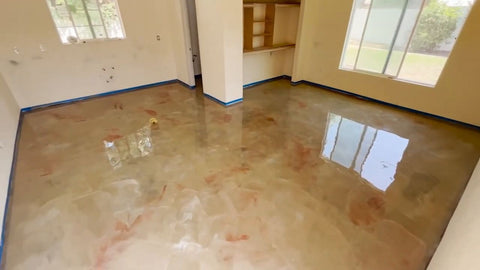
Marble Mania
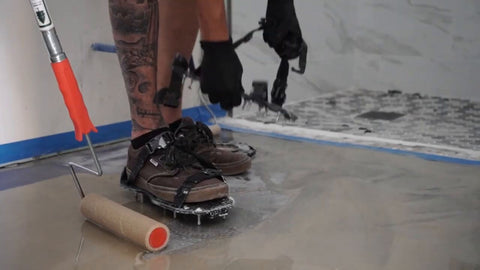
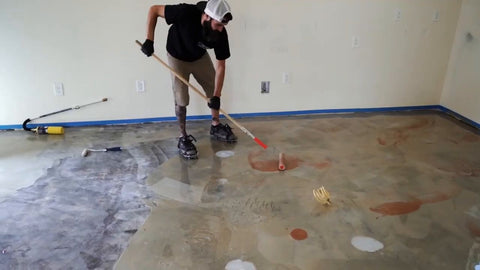
For this floor, our customer requested a marbled effect—très chic! Donning spiked shoes, which are practically the high heels of the epoxy world, allows you to waltz over the resin without leaving a mark.
Now for the fun part: strategically drop pigmented resin onto the floor and roll them gently into the existing layer, creating swirls of color resembling natural marble. Keep going until the entire floor is a masterpiece.
Block out another day for curing before it’s time to peel back the tape and reveal the transformation to your awestruck customer.
And there you have it—a step-by-step approach to upgrading your flooring with polyaspartic that not only looks fantastic but is durable too.
Remember to work safely, take your time, and have some fun with it. Until next time, happy flooring!
Don't forget to hit that like button, subscribe to @TheEpoxyResinStore, and follow us on our social media channels to stay up to date with the latest and greatest in DIY crafts!
Also special thanks to the creator Bryan who you can follow @ https://www.instagram.com/resin_works_bo/
👉👉 If you liked this video and want to see more
👉👉 Comment "Epoxy Resin Tutorial" because that does two things.
1. It lets us know you like it, and encourages our creators!
2. Commenting gives you a chance to win within one of our upcoming givesaways. -hint-hint
https://www.theepoxyresinstore.com/ is an expert manufacturer of various epoxy resins that can be used for both craft projects and industrial applications. We also offer liquid inks, dyes, pigments, glitter, other additives, and tools for various epoxy resin projects.
The Epoxy Resin Store
support@theepoxyresinstore.com
Phone: (951) 677-0400
Address: 540 Crane St suite A Lake Elsinore, CA 92530
https://www.theepoxyresinstore.com
Social Accounts:
https://www.facebook.com/TheEpoxyResinStore
https://twitter.com/epoxyresinstore
https://www.linkedin.com/company/the-epoxy-resin-store
https://www.youtube.com/channel/UC3NKcCrYL5uHK-sH5XMQ9HA
https://instagram.com/theepoxyresinstore
#epoxy #epoxyresin #theepoxyresinstore
*We may use Amazon affiliate links to products we like, meaning if you buy something, we'll receive a small commission.


