

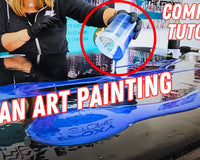
How to Achieve a Stunning Marbled Polyaspartic Floor in an Airport Hangar
Today is all about creating a spectaculer metallic polyaspartic floor. We're taking a trip to Boulder City Airport, where we've tackled an exciting project in an airport hangar. We covered a lot of distance on this one 😜.
We transformed an ugly cracking base into a floor that is sleek and more durable. Ready to see how we did it? Watch this video: https://youtu.be/feN8VLUbgYk
What You'll Need to Get Started
- Polyaspartic Epoxy
- Vapor Barrier
- Spiked Shoes
- Powdered Pigment - Black Diamond Pigment
- Epoxy Resin Rollers - Squeegee - Glides
*We may use Amazon affiliate links to products we like, meaning if you buy something, we'll receive a small commission.
Now that we've got our gear in check, let’s tackle this polyaspartic flooring project.
Our journey begins with the all-important prep. If you missed our previous post covering the CRITICAL step of installing a Vapor Barrier, go here to catch up.
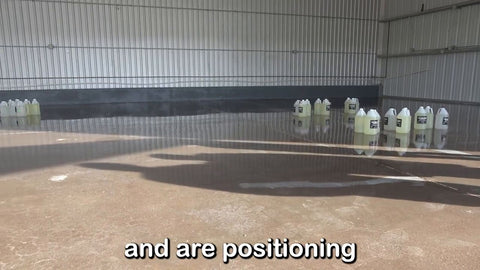
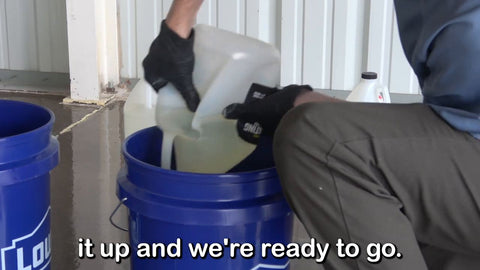
Now we all know organization is key, so we start by lining up our kits, primed for action. Then it's time to strip off the lids, pull away the tape, and remove the internal liners.
These liners are used for securing the kits during mailing, but they've gotta go before we get down to business. By ensuring everything is ready to go before we mix our materials, we avoid any potential delays during the application process.
Laying Out the Battlefield
After measuring the hangar floor and breaking it down into workable 500-square-foot sections, precise planning lets us calculate the amount of product and pigment needed.
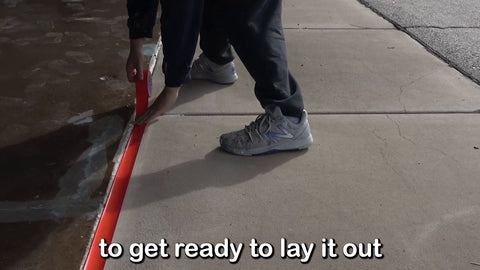
Our setup involves neatly taped-off areas using conspicuous red duct tape to mark where we don't want the polyaspartic to spill over. It's all about control and precision here.
Take your time and over prep, or you will spend MORE time cleaning up the mess afterward.
The Mixing Ritual
Now, let's talk about the mix. Polyaspartic is a two-to-one ratio beast, and it requires patience. I always start with the two parts of A and a generous dose of pigments, ensuring that they're thoroughly mixed before introducing part B, the hardener. This method gives me all the time I need to get a consistent, clump-free blend without the panic of the material starting to set.
"Mixing the perfect polyaspartic floor is both art and science - patience is your best tool." - Bronson
Pigment Power
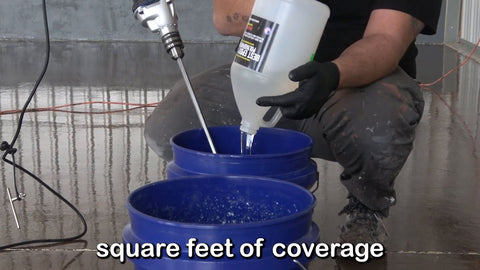
I'm a firm believer in a heavy pigment load. For a three-gallon kit, we talk about 12 to 14 ounces of pigment. This tactical choice ensures our floors don't just whisper color; they shout it, giving us the coverage and visual impact we desire.
We settled on a mostly grayscale palette with three shades of gray and went with bright white for a contrasting pop. Nothing says "sophisticated" like a grayscale marbled floor with an occasional burst of brightness.
The Art of Application
It's time for the real action. I'm over there, meticulously mixing up my B, with a screwdriver to the bottom of the can for a speedy pour. The clock starts ticking now, and the pace picks up. Coverage is crucial—I aim for 30 to 40 square feet per gallon, prioritizing a substantial material build for robust flooring.
Polyaspartic boasts incredible adhesion to concrete, making it an ideal contender for hard-wearing locations like an airport hangar. It is also remarkably chemical-resistant, and it hardens into an impressively durable surface. We chose it for these reasons—it's tough as nails, just like the aircraft it houses.
The Dance of the Spiked Shoes
Suiting up in spike shoes, we spread our mixed concoction across the designated zones. Starting with the smaller sections prevents us from being cornered—literally—later on.
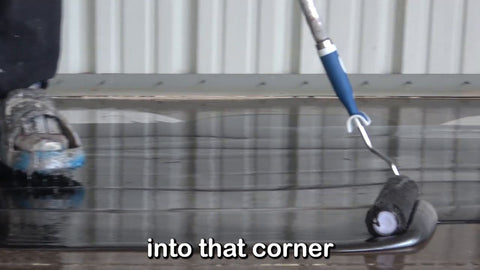
Using practiced strokes and our signature figure-eight pattern, we manipulate the polyaspartic blend to create a mesmerizing marbled effect that's both methodic and a little random, ensuring every inch of the surface is touched by our rollers.
The trick is to push and coax the material around without creating lines, letting it flow to achieve that sought-after marbled look. Application ratios matter—a generous amount of material allows for the perfect spread and pattern formation.
Teamwork Makes the Dream Work
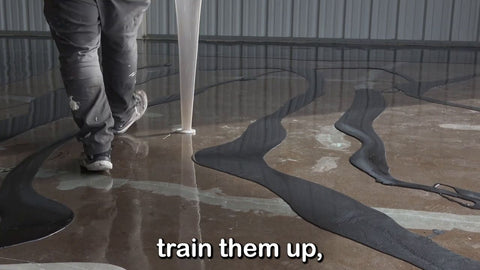
When pouring out the blend, we don't play it safe—we dynamicly drizzle our colors, paying special attention to contrasting hues. Sometimes it feels like a tango, going dark, then light, creating the visual drama only a marbled floor can exude. And while I occasionally throw caution to the wind with my "ballerina technique," no spikes, just agile movement, I know the importance of having a reliable team.
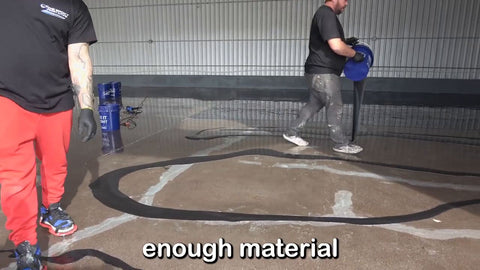
Two sets of hands are always better than one, especially when you're laying down the material a bit thicker to cover larger stretches efficiently. My advice: grab some buddies, give them a rundown, perhaps a snack and a brew, and get that floor looking spectacular with friendly help.
And That’s a Wrap
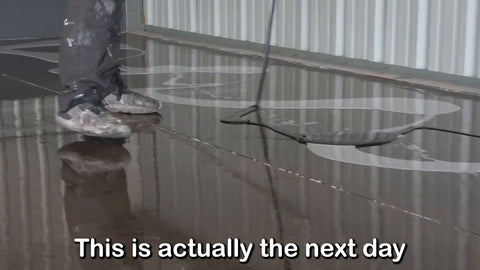
With all sections thoughtfully coated, the glorious marbled ocean of polyaspartic on the hanger floor stands testament to meticulous planning and the joy of a job well done. We faced a bit of glare when snapping the final shots, but the results speak for themselves.

There you have it, folks—an insider peek at installing a marbled polyaspartic floor in an airport hangar. We didn't ask for a penny, just a bit of your time. If you found this post helpful, show us some love:
Let's keep making the ordinary, extraordinary!
👉👉 If you liked this video and want to see more
👉👉 Comment "Epoxy Resin Tutorial" because that does two things.
1. It lets us know you like it, and encourages our creators!
2. Commenting gives you a chance to win within one of our upcoming givesaways. -hint-hint
https://www.theepoxyresinstore.com/ is an expert manufacturer of various epoxy resins that can be used for both craft projects and industrial applications. We also offer liquid inks, dyes, pigments, glitter, other additives, and tools for various epoxy resin projects.
The Epoxy Resin Store
support@theepoxyresinstore.com
Phone: (951) 677-0400
Address: 540 Crane St suite A Lake Elsinore, CA 92530
https://www.theepoxyresinstore.com
Social Accounts:
https://www.facebook.com/TheEpoxyResinStore
https://twitter.com/epoxyresinstore
https://www.linkedin.com/company/the-epoxy-resin-store
https://www.youtube.com/channel/UC3NKcCrYL5uHK-sH5XMQ9HA
https://instagram.com/theepoxyresinstore
#epoxy #epoxyresin #theepoxyresinstore
*We may use Amazon affiliate links to products we like, meaning if you buy something, we'll receive a small commission.


1 comment
Pamela Jones
“Epoxy Resin Tutorial”