
Hey craft enthusiasts! It's Cyn here from The Epoxy Resin Store, and I'm thrilled to bring you another handy guide to elevate your tumblers. Today, we're diving into the world of urethane coating and how it plays a crucial role in turning your decals into long-lasting works of art.
Prepping Your Tumbler
To kick things off, let's talk about preparation. Before we get to slinging that urethane coating, we need a smooth base. I've got a tumbler here that's already been hit with a lightning cure and a layer of tumbler's coating epoxy. But, as we all know in the DIY world, sometimes those pesky glitter specks like to stand out. That's why we're going to give it a quick sanding—bring those "pokies," as I like to call them, down to earth. Just enough sanding to ensure we've got a slick, adhesive-friendly surface!
Caption: Before and after sanding, making sure the surface is ready for that urethane magic.
Once your tumbler is smoother than a jazz solo, it's time to reintroduce it to the spinner. Reminder: when mounting your cup, the insert should be snug—think at least two inches deep for a secure fit.
Applying Decals With Precision
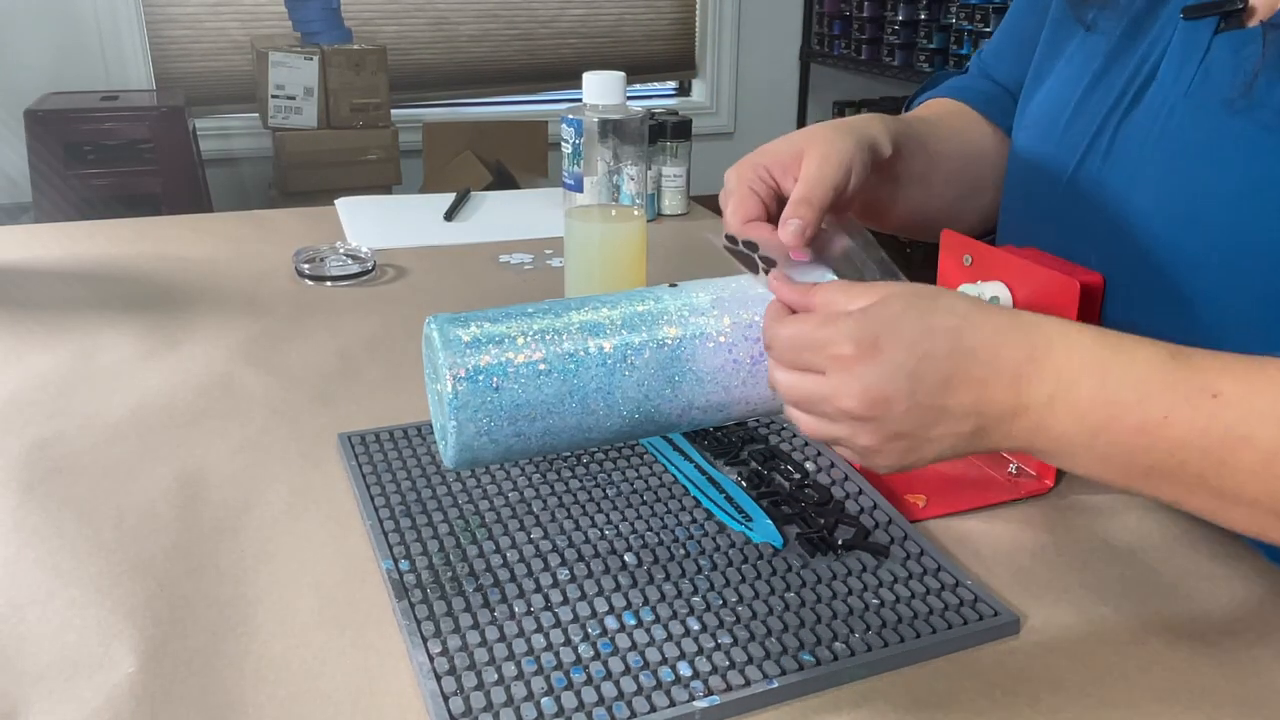
Now for the fun bit! Grab your decals, and let's get sticking. Apply each one directly onto your tumbler, smooth it out, and peel off the backing.
Caption: Carefully applying decals for perfect placement.
Position them wherever you like. Remember, the surface is already prepped with a lightning cure and epoxy coat, so we're halfway to fantastic. But hold on, we're not done yet!
Clockwise Coating: The Urethane Magic
OK, it's urethane time! But let's not get ahead of ourselves—safety first. Slip on those gloves, folks.
Alright, with urethane coating, forget about mixing; we take the straight shot from bottle to tumbler. Here's a pro tip I've picked up along the way: pour generously. A thick pour ensures we avoid any streakiness later since urethane has a tendency to self-level or shrink. A thin coat might leave you with a finish about as appealing as a bumpy road.
Gently guide the urethane over the tumbler—you're the shepherd, and the urethane is your flock. Not too much pressure, we're not squeezing oranges here. You want it to just gracefully glide over the surface.
Whoops, if you overdo it, don't sweat it. Sometimes, what looks like too much turns out to be just right. Make sure you've got a consistent, thick layer all over. No streaks, just smooth sailing.
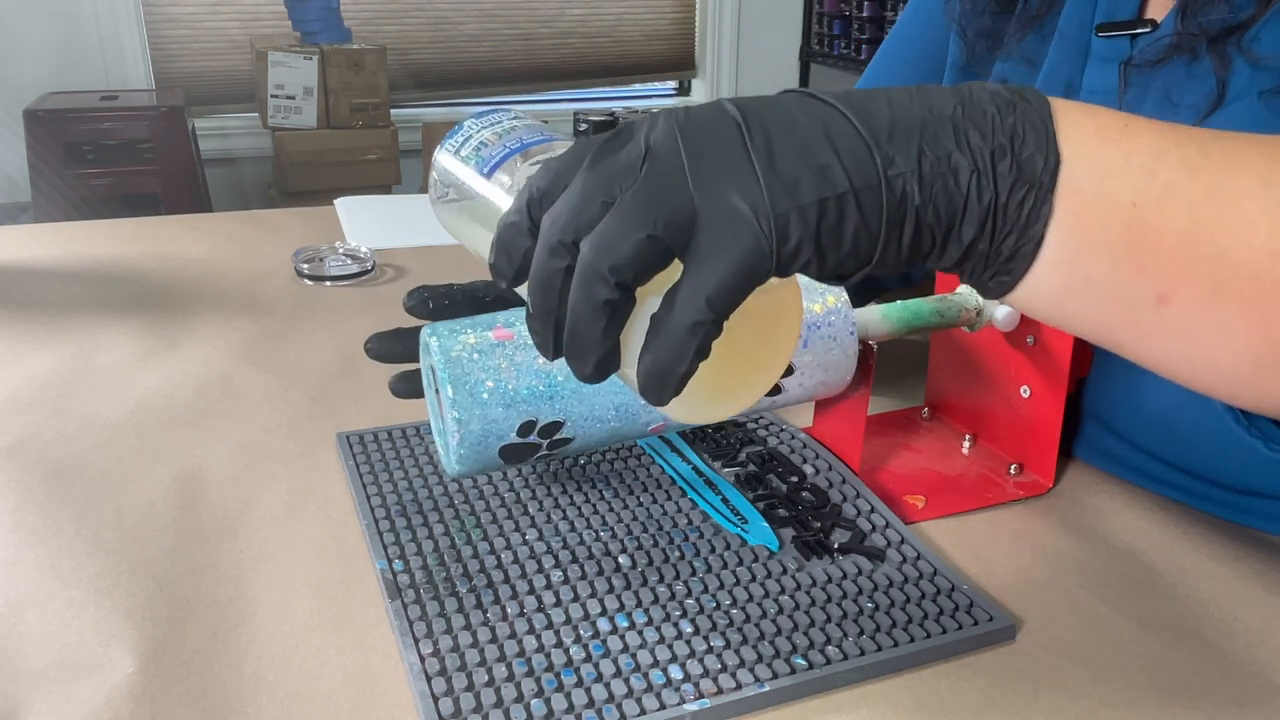
Caption: A thick, even layer of urethane will make all the difference.
Sealing the Deal: Final Touches
What we're doing here is sealing in your decals. This beautiful, thick layer will help prevent any lifting when we move on to the next epoxy phase, or you can even leave it as the final coat!
If there's a bubble, just pop it with your finger. No need for torches—this isn't a crème brûlée.
As you spin your tumbler and watch that gleaming coat work its magic, tap in a bit more urethane in any shy spots. Just a tap—let it level.
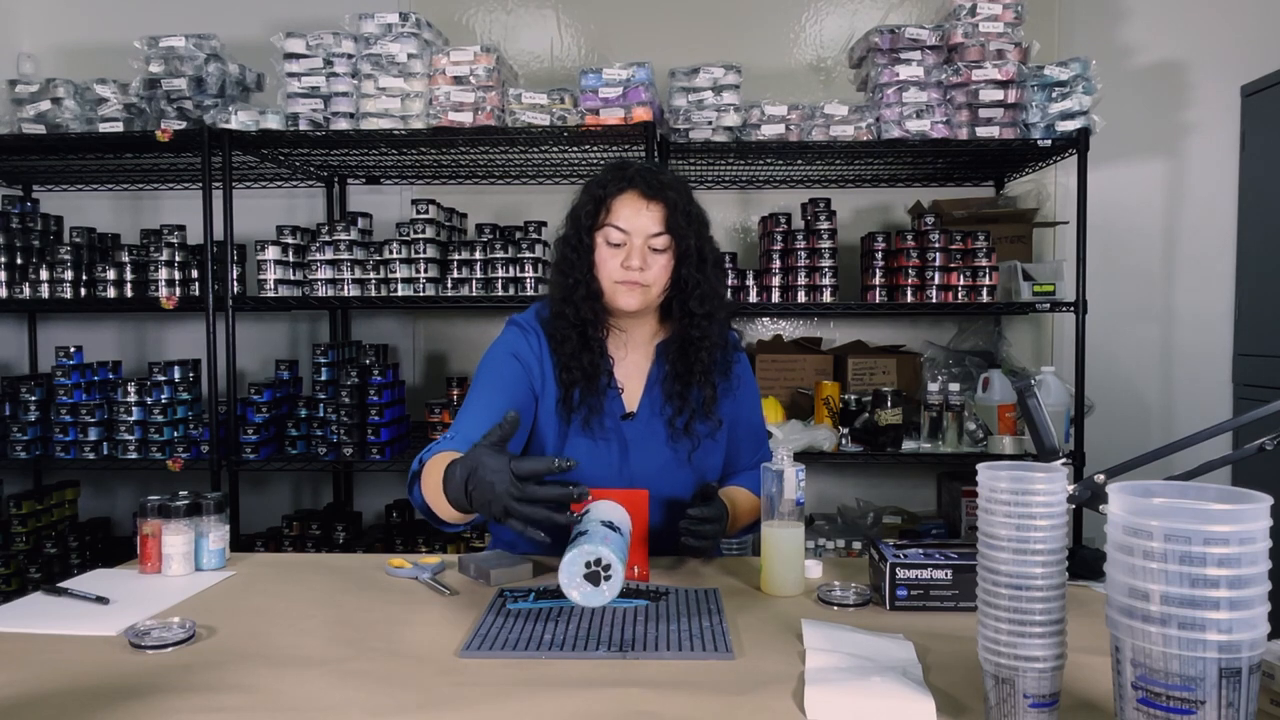
Caption: A tumbler mid-spin, showing off its shiny new urethane coat.
And that's a wrap on urethane coating, guys! Simple, right? You've now got a vinyl-sealed, bubble-free, professional-looking tumbler ready for either its final epoxy coat or to strut its stuff as is.
Crafting is all about the journey and the little details that make big impacts. So go ahead, give your tumbler that urethane hug, and watch your work last for many sips to come. Until next time, keep creating!
Stay tuned for more crafting guides and be sure to check out our other blog posts for more tips and tricks. Happy crafting!


1 comment
Epoxy Resin Tutorial